
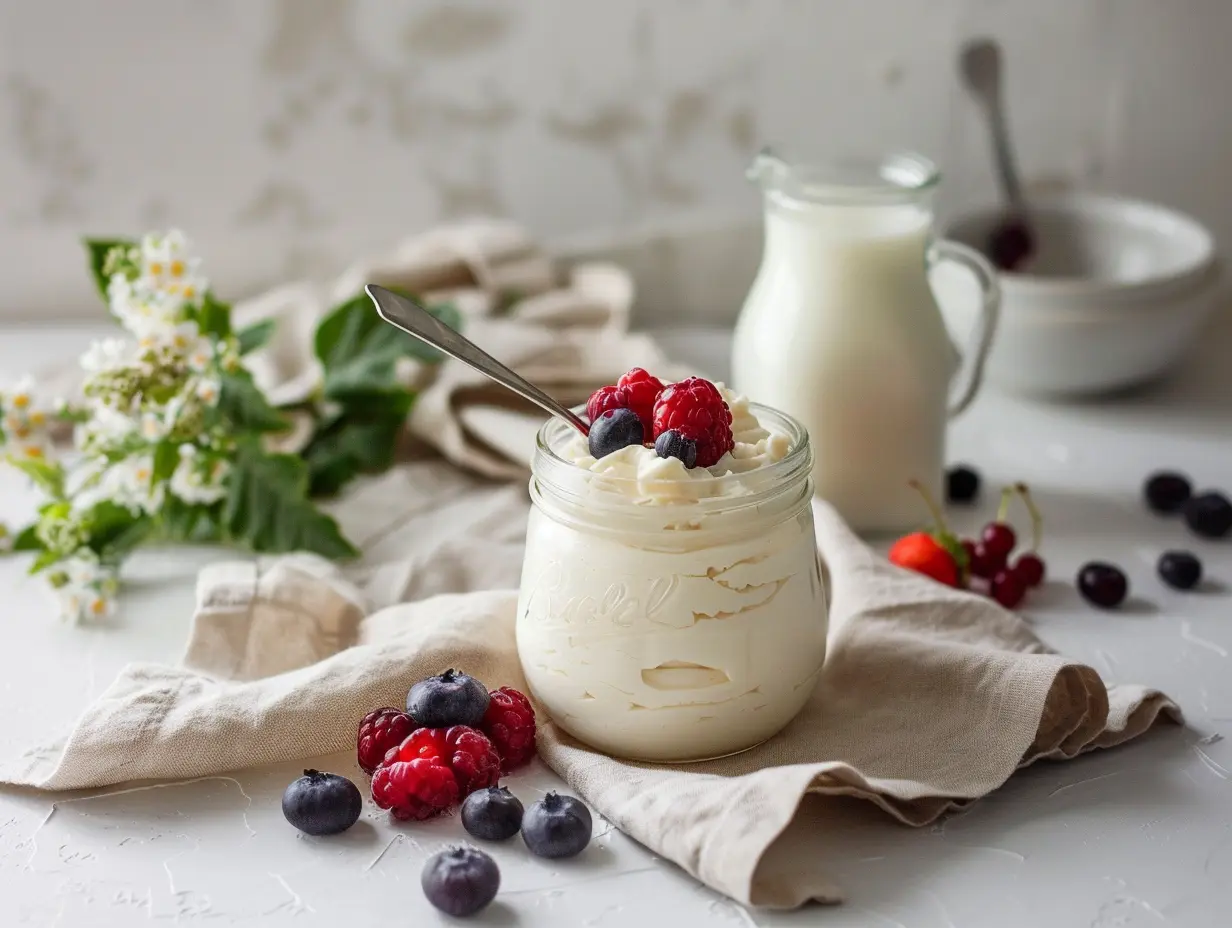
There’s something magical about making your own low fat yogurt—especially when it’s bubbling away in your kitchen and you know exactly what’s in it. No mystery additives, no sneaky sugars. Just simple, nourishing ingredients. Whether you’re going dairy-light, vegan-curious, or totally lactose-intolerant, this recipe has you covered.
I first made this yogurt during one of those “clean up the fridge” weekends. You know the type—when you’re in sweatpants, sipping tea, and suddenly channeling Martha Stewart. Now, it’s a staple in our fridge, perfect for smoothies, yogurt drinks, breakfast parfaits, or just eaten by the spoonful.
Why You’ll Love This Low Fat Yogurt Recipe
If you’ve ever peeked at yogurt labels in the store and felt personally attacked by the sugar content or unpronounceable ingredients—this one’s for you. This low fat yogurt recipe is:
- Simple and budget-friendly
- Naturally adaptable for vegan yogurt or lactose free yogurt lovers
- Creamy, tangy, and perfectly spoonable
- A great base for sweet or savory toppings
- Fermentation fun for your kitchen (science meets snack time!)
Ingredients
Here’s all you need to make your own low-fat yogurt at home:
- 4 cups skim or low-fat milk (or unsweetened plant milk if going vegan)
- 1/3 cup instant skim milk powder (optional, helps thicken)
- 1/4 cup plain organic live-culture yogurt (or 5g freeze-dried vegan culture for dairy-free)
Step-by-Step Instructions
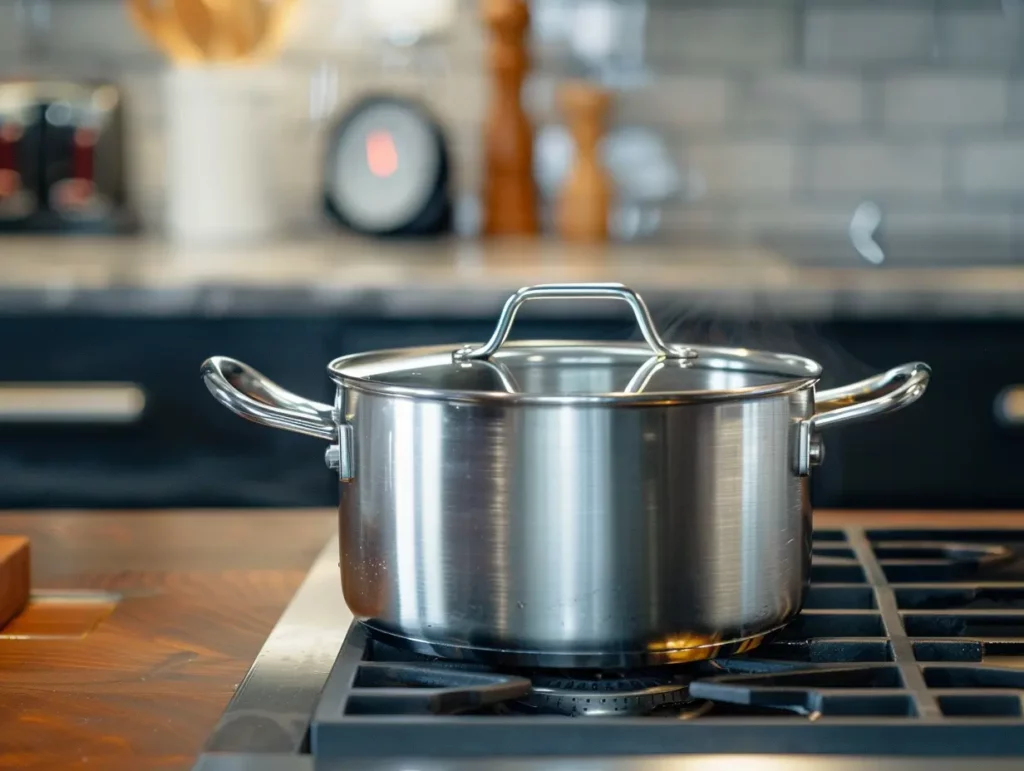
1. Heat the Milk
Pour your milk (dairy or plant-based) into a saucepan. Heat it slowly over low heat until it reaches 170°F (77°C)—you’ll want to stir often so it doesn’t scald. If you’re using the skim milk powder, whisk it in now.

2. Cool It Down
Remove the milk from heat and let it cool naturally for 30 minutes to 1 hour. You’re aiming for 110° to 120°F (44° to 49°C)—a cozy warm bath for your yogurt culture.
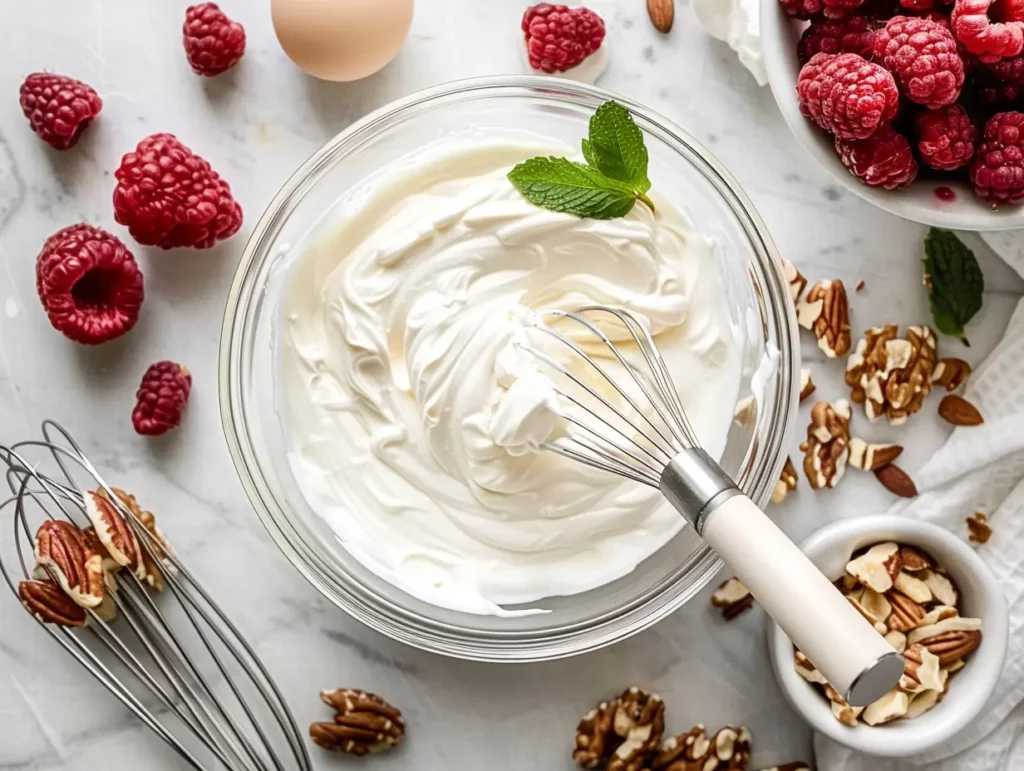
3. Add the Culture
In a separate bowl, mix 1/2 cup of the cooled milk with your yogurt starter or culture. Once smooth, whisk it back into the main pot of cooled milk.
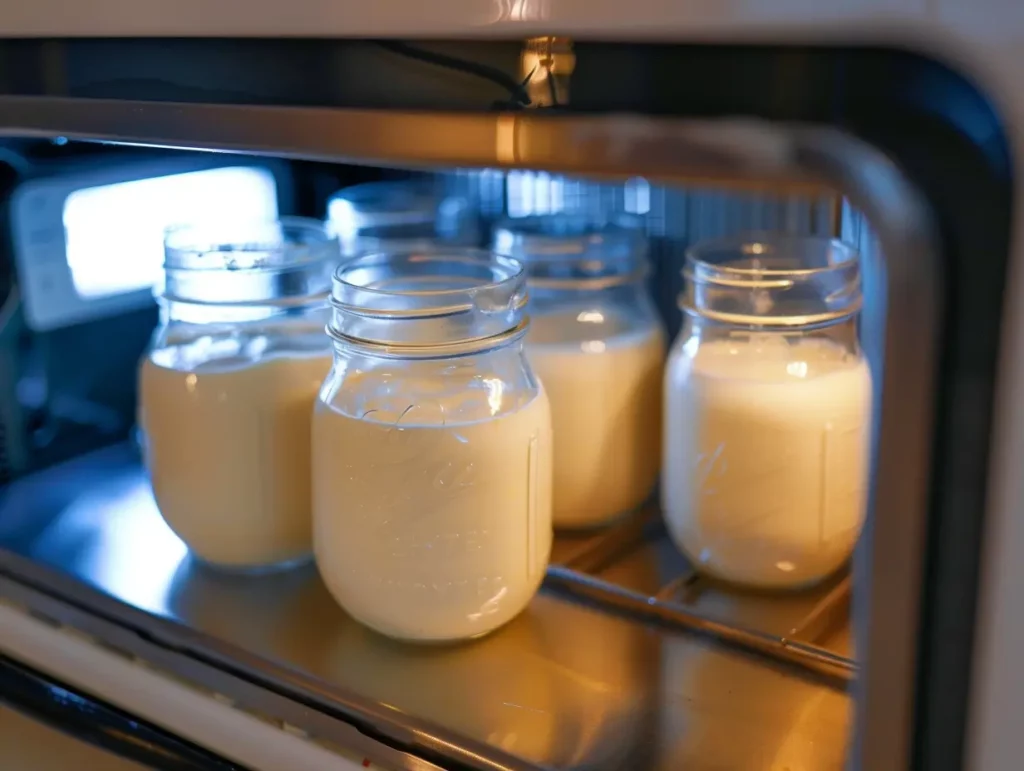
4. Let It Ferment
Pour the mixture into clean glass jars or containers. Secure the lids and place them into your yogurt maker (or a warm oven or Instant Pot on yogurt mode). Ferment for 8–10 hours. The longer it goes, the tangier and thicker it’ll be.
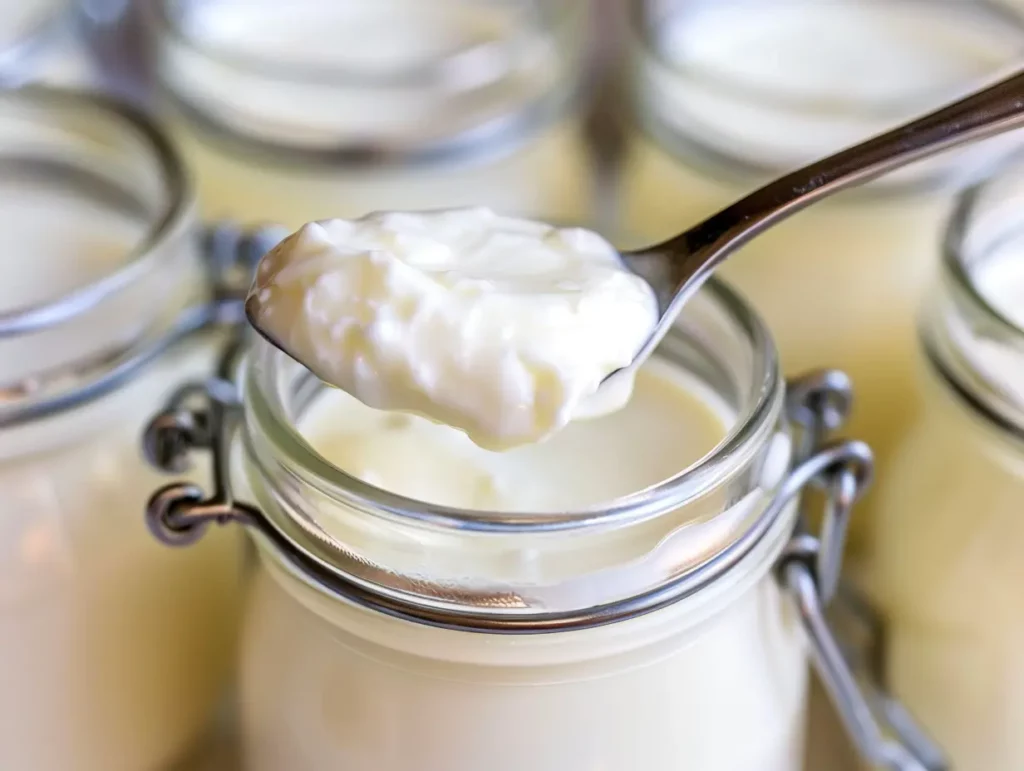
5. Cool and Store
Check a jar after 8 hours. Like the taste and texture? You’re done! If not, give it 1–2 more hours. Once ready, pop the jars into the fridge to chill for a few hours before enjoying.
Tips for Yogurt Success
- For vegan yogurt: Use a thick, full-fat plant milk like soy, oat, or cashew. Almond milk can work too, but it’s a little thinner.
- Too runny? Try adding a tablespoon of agar agar or corn starch before heating the milk for a creamier texture.
- Flavoring ideas: Add vanilla, honey, or fruit after fermentation—not before, or it can mess with the cultures.
- Yogurt drink anyone? Blend your finished yogurt with water or fruit juice and a touch of maple syrup for a refreshing yogurt drink!
A Little Kitchen Story
This yogurt was actually born from one of my daughter’s preschool snack disasters. She came home distraught that her store-bought “fruit on the bottom” yogurt had exploded in her lunchbox (RIP to that backpack). That night, I whipped up a batch of homemade yogurt with just a bit of strawberry puree folded in—and guess what? No explosions, just smiles. It’s now our go-to snack, school-friendly and all.
FAQs
Can I make this with vegan milk?
Absolutely! Use unsweetened soy, oat, or cashew milk, and a vegan yogurt starter. Thicker plant milks work best for the creamiest results.
How can I store leftovers?
Keep your yogurt in sealed containers in the fridge for up to 7–10 days. For longer storage, freeze in small portions for smoothies or cooking.
Do I need a yogurt maker?
Nope! You can use an Instant Pot, a warm oven with the light on, or even a cooler with warm towels to keep a stable temperature.
Is this recipe good for lactose intolerance?
Yes! Just use lactose free milk and a compatible culture (many lactose-free yogurts are now widely available for starter cultures).
Whether you’re prepping school snacks, leveling up your breakfast game, or just feeling that DIY itch—this low fat yogurt recipe delivers. It’s wholesome, easy to make, and customizable for any diet, including vegan yogurt or lactose free yogurt options.
And hey, nothing beats the feeling of cracking open a jar of your own homemade yogurt. Go ahead, grab that spoon—you’ve earned it.